
Step 1: Download the Extension
Start by downloading the extension from here
The file you receive will be in .zip format.
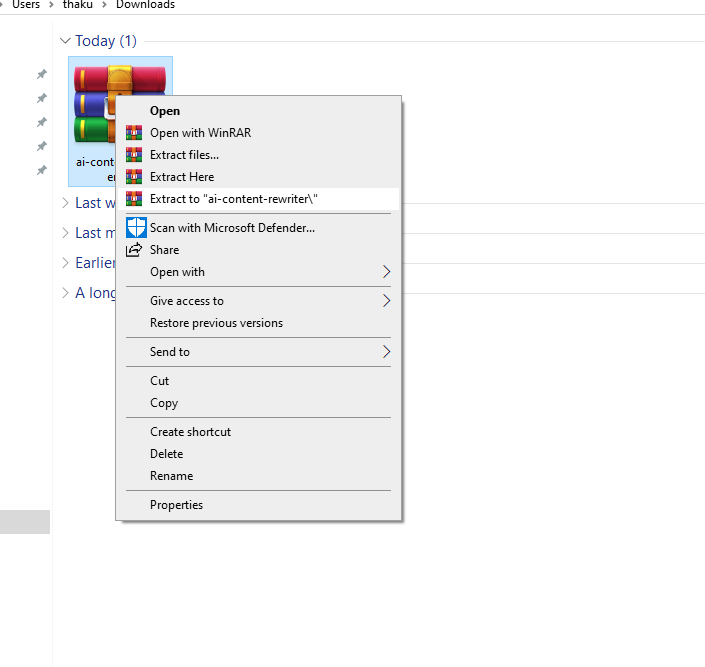
Step 2: Extract the ZIP File
Once the ZIP file is downloaded, right-click on it and choose Extract All (or use your preferred extraction tool).
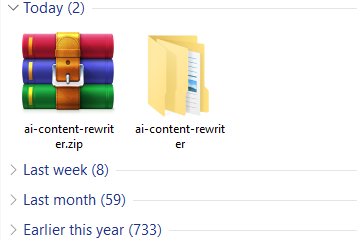
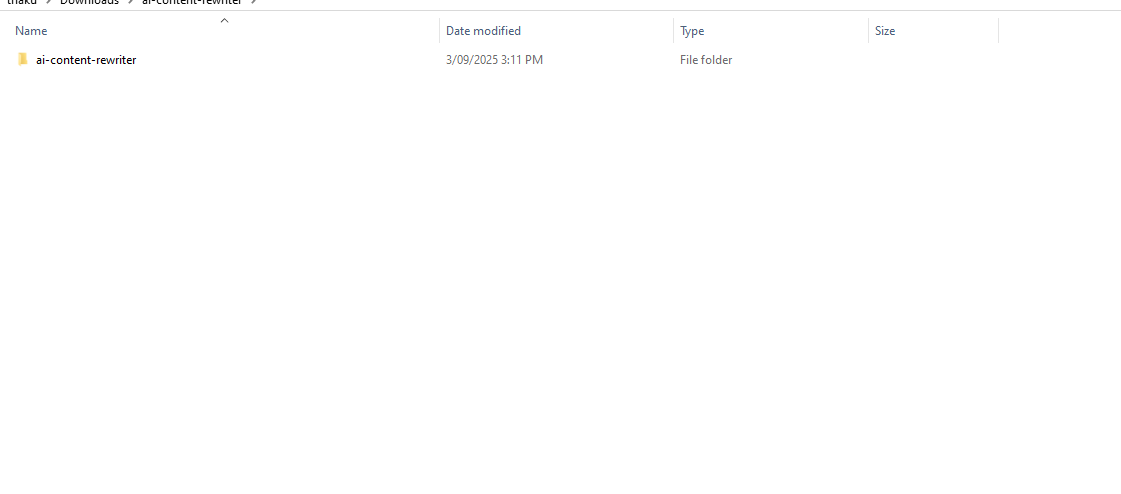
After extraction, open the extracted folder — inside, you’ll see another folder with the same name.
Step 3: Open the Extensions Page
Next, open your Chrome or Brave browser and go to:
👉 chrome://extensions/
Alternatively, you can navigate there through your browser’s Settings → Extensions menu.

Step 4: Enable Developer Mode
Once the Extensions page is open, look at the top-right corner — you’ll see a toggle for Developer mode.
Turn it ON.
⚠️ Developer Mode must be enabled before you can load extensions.
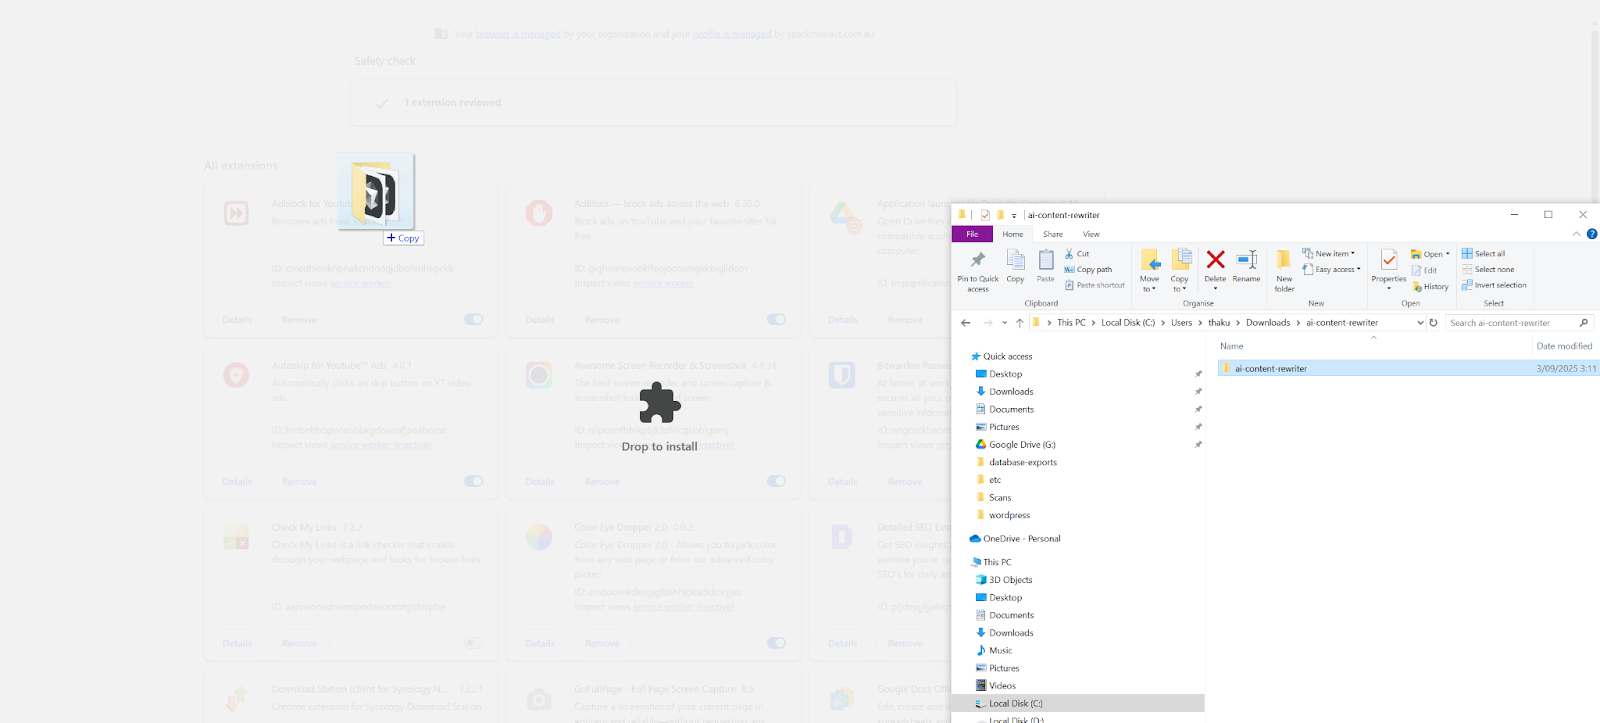
Step 5: Load the Extension
Now that Developer Mode is active, drag and drop the extracted extension folder directly onto the Extensions page.
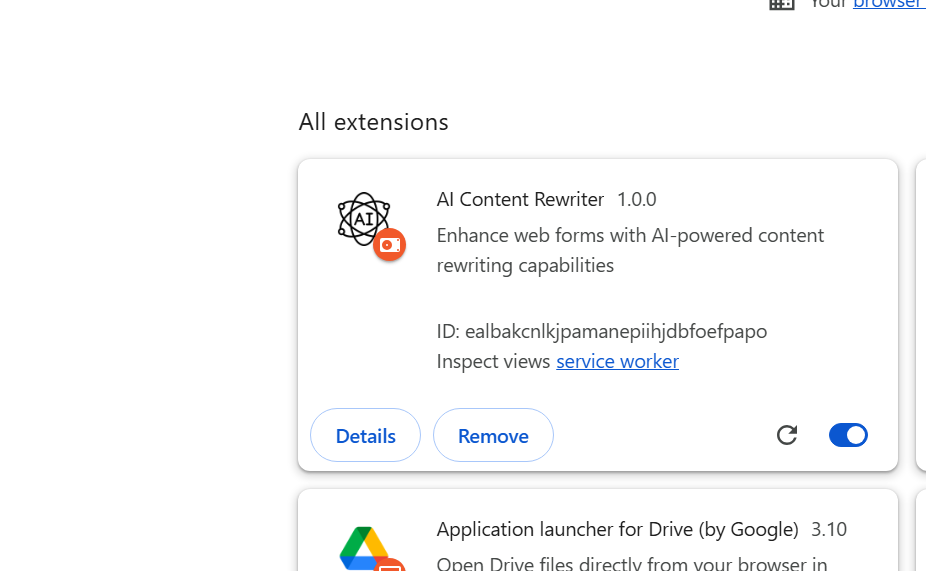
If everything is done correctly, you’ll see “AI Content Rewriter” appear in your list of extensions.
✅ That means the extension has been successfully installed.
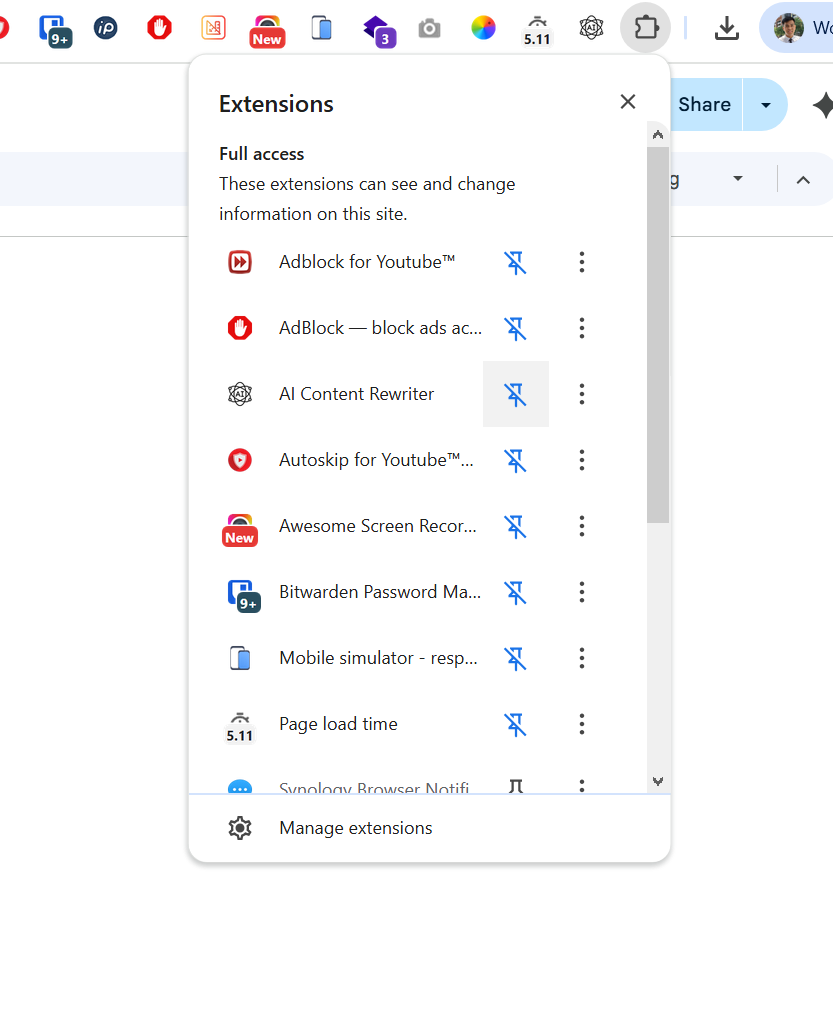
Step 6: Pin the Extension
To access the extension quickly, click the puzzle icon (🧩) on your browser toolbar and pin the AI Content Rewriter extension.
This will make its icon visible at the top of your browser.
Step 7: Connect Your OpenAI API Key
Click on the AI icon to open the extension popup.
You’ll see a field where you can enter your OpenAI API key.
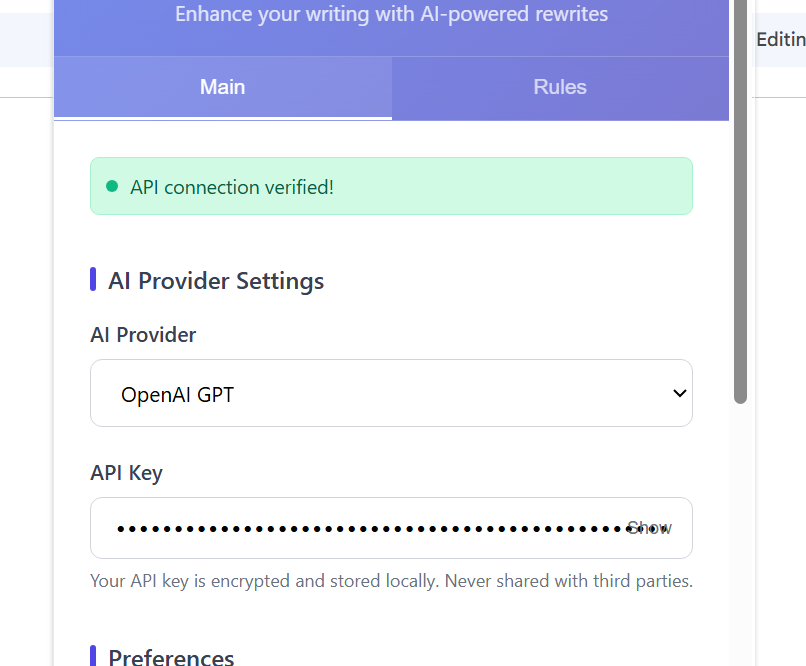
After entering your key, click Save.
If the connection is successful, you’ll see a message saying “API connection verified.”
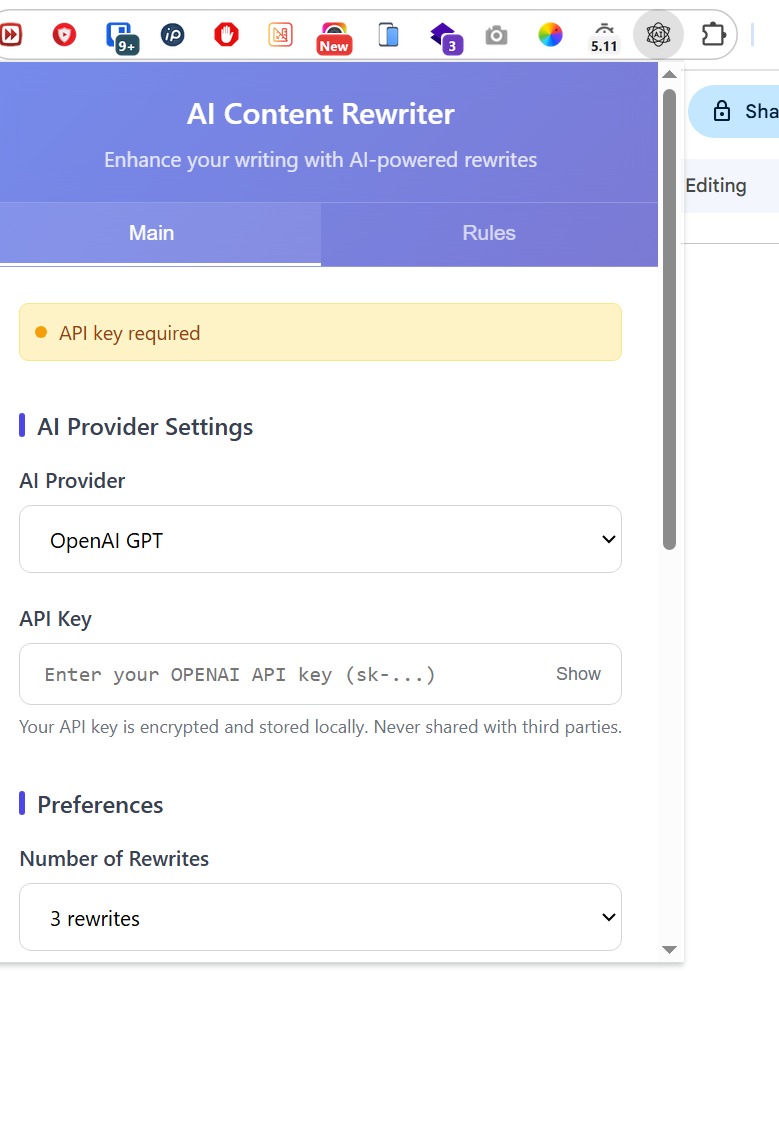
Step 8: Configure Extension Settings
Inside the extension popup, you can choose how many variations of rewritten content you’d like the AI to generate:
- 1 content
- 2 contents
- 3 contents
There’s also a checkbox labeled Enable AI Content Rewriter, which allows you to easily turn the extension on or off.

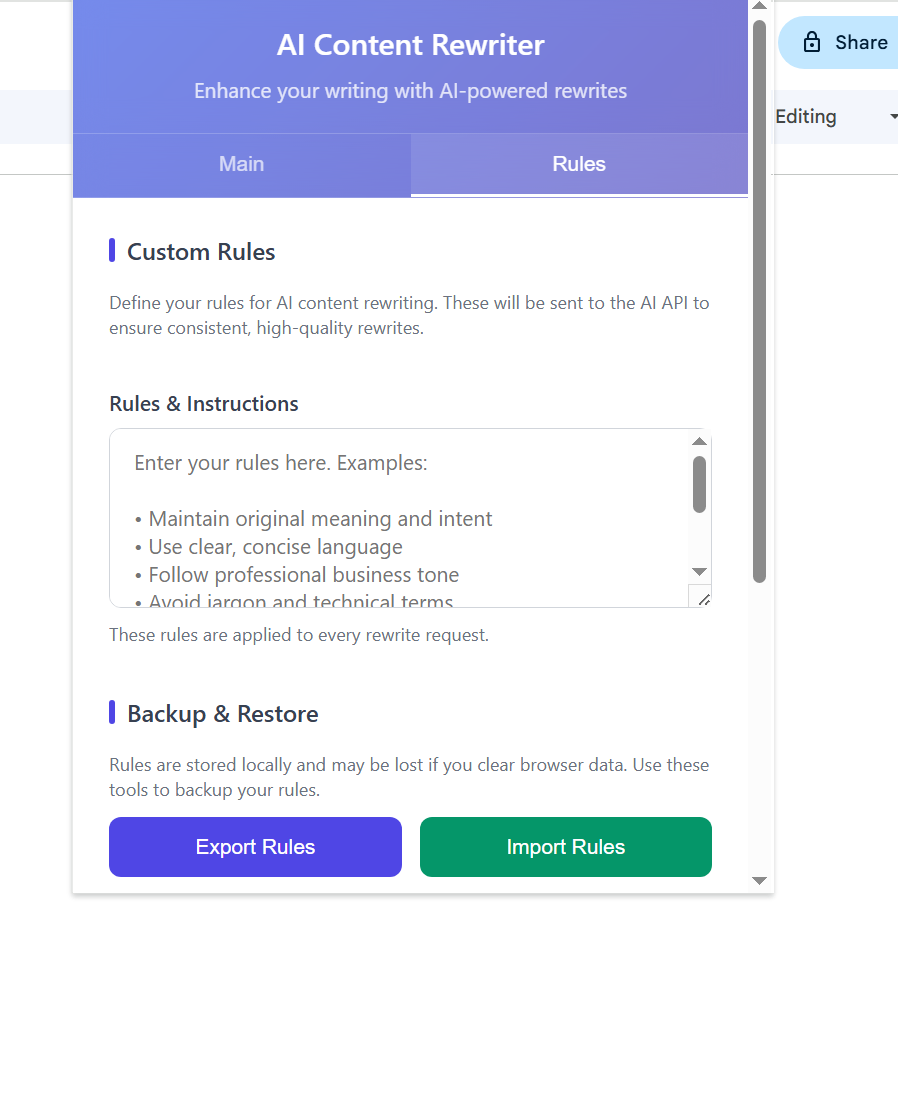
Step 9: Add Custom Rules (Optional)
Want the AI to follow your own writing style or rules?
You can add your own custom rules and instructions in the extension settings.
The format is flexible — you can write them as:
- Bullet points
- Paragraphs
- Radio buttons
- Or any format that works for you
The extension will use these rules to generate content based on your predefined writing style.
If you have any questions about the extension or need further support, feel free to reach out to us via [email protected]