
Migrating hundreds of WordPress blog posts from one custom field system to another can feel overwhelming. If you’re moving from Advanced Custom Fields (ACF) to JetEngine and worried about losing years of content, this step-by-step guide will walk you through the process based on our experience migrating over 300 posts for a client.
Why Simple Export/Import Won’t Work
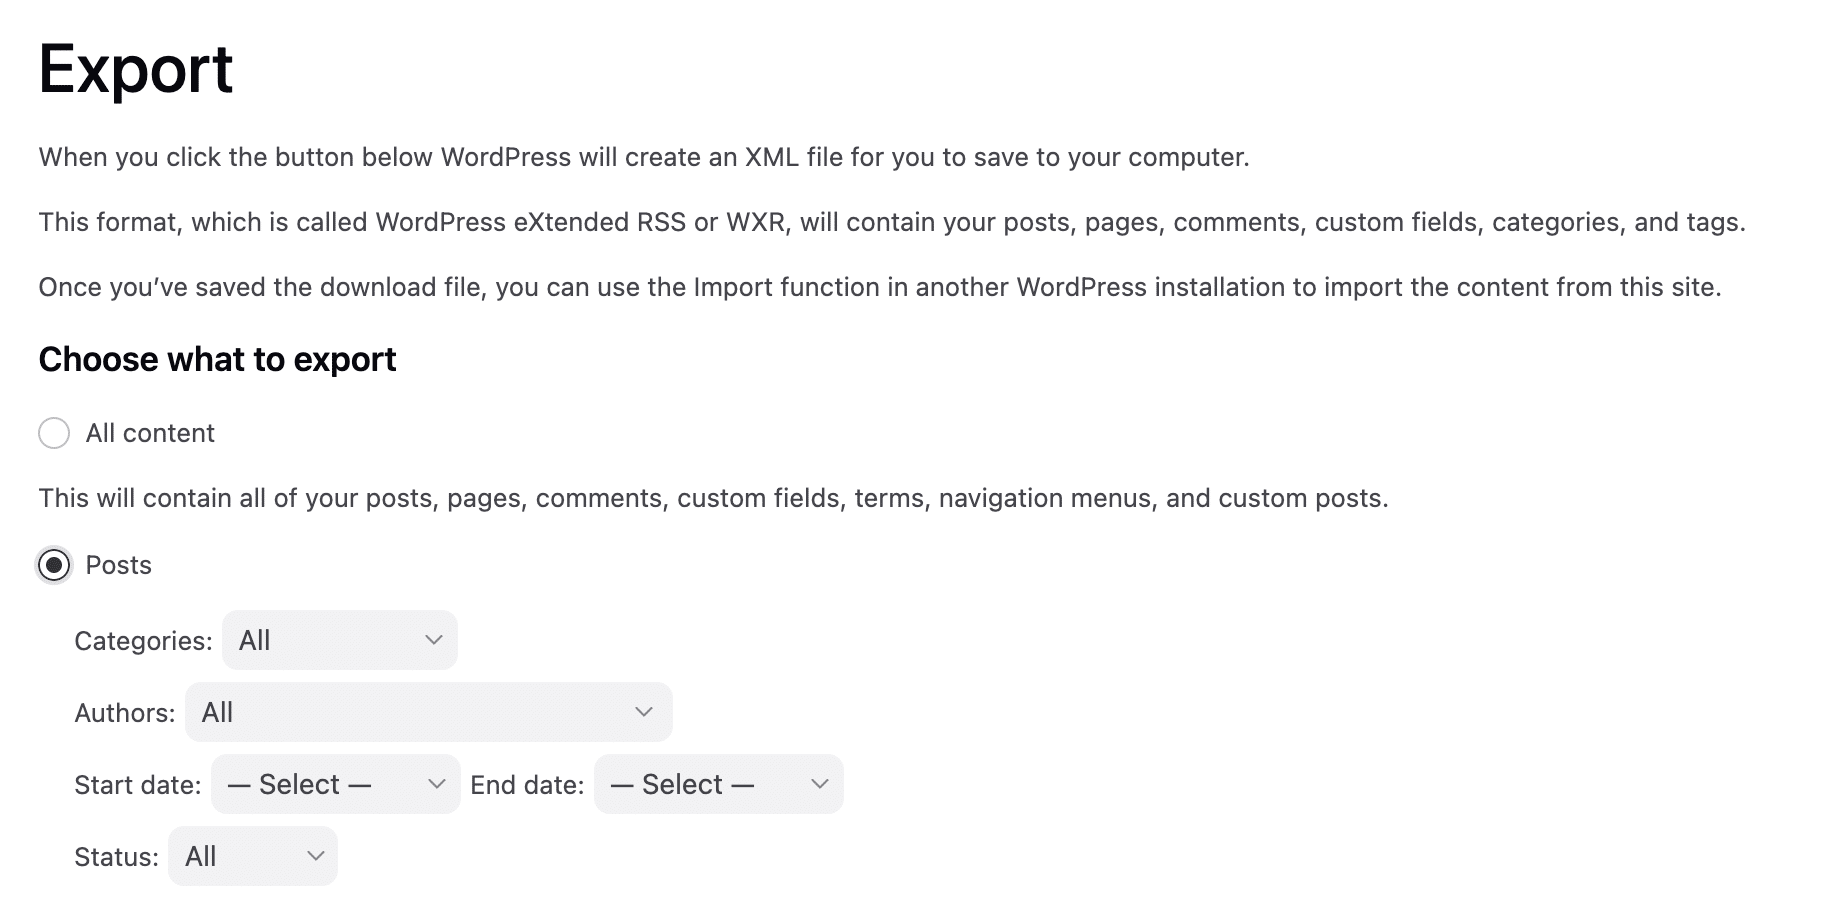
The WordPress export/import function works perfectly for basic posts, but when your content relies on custom fields, you’ll quickly discover the limitations.
The Problem: Custom fields created in ACF won’t automatically map to JetEngine fields. Each system stores custom field data differently, so a direct import will result in:
- Missing custom field data
- Broken post layouts
- Lost metadata
- Broken internal functionality
As our developer Roshan puts it: “It’s like taking parts from a Honda car and trying to assemble them in a Mercedes — it’s not going to work.”
Why We Switched from ACF to JetEngine
Our decision to migrate wasn’t arbitrary. We encountered a critical issue with ACF and Elementor integration that forced our hand. There’s a known compatibility issue (GitHub Issue #9571) where ACF fields don’t properly populate in Elementor popups.
As Giang, our lead developer, explained: “The shortcode or custom widget we created using PHP code may work on the Single Post template, but JetPopup is unable to populate data from the custom shortcode widget when displayed in a popup (such as for a Webinar or E-book) on the frontend.”
For one of our clients being a law firm that relies heavily on content-gated resources and popup functionality, this wasn’t just an inconvenience — it was breaking core website functionality.
Step 1: Audit Your Existing Custom Fields
Before starting any migration, document everything you’re working with:
Map Your ACF Structure
- List all custom field groups
- Document field types (text, textarea, image, repeater, etc.)
- Note which post types use which fields
- Identify required vs. optional fields
- Check for conditional logic or dependencies
Content Analysis
- Count total posts needing migration
- Identify posts with complex custom field structures
- Note any posts with missing or incomplete data
- Document media attachments linked through custom fields
Step 2: Plan Your JetEngine Structure
Don’t just recreate your ACF fields in JetEngine — this is your opportunity to improve.
Design Improvements
- Simplify overly complex field groups
- Add new fields you’ve needed
- Improve field organisation
- Consider future content needs
Technical Considerations
- Plan for better SEO integration
- Design for improved user experience
- Consider performance optimisation
- Think about maintenance efficiency
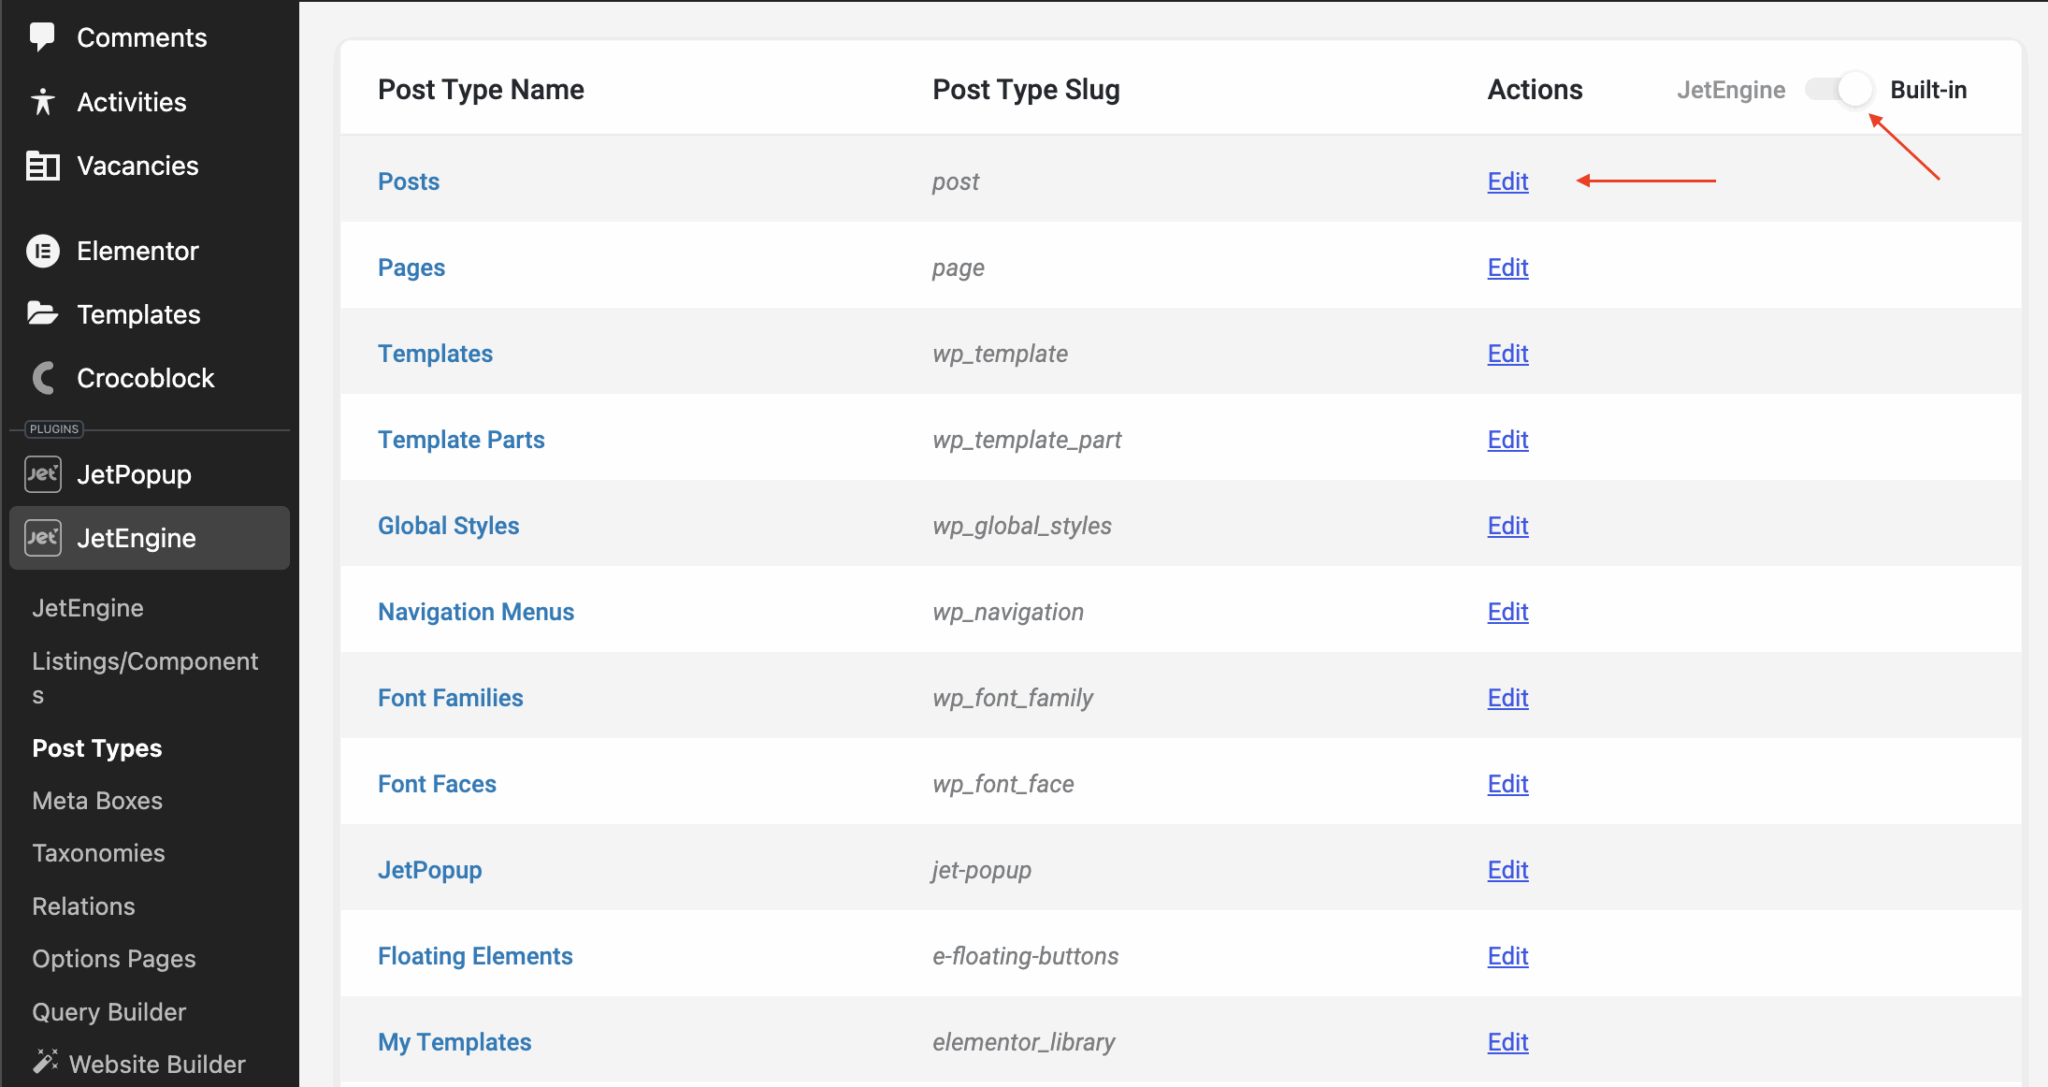
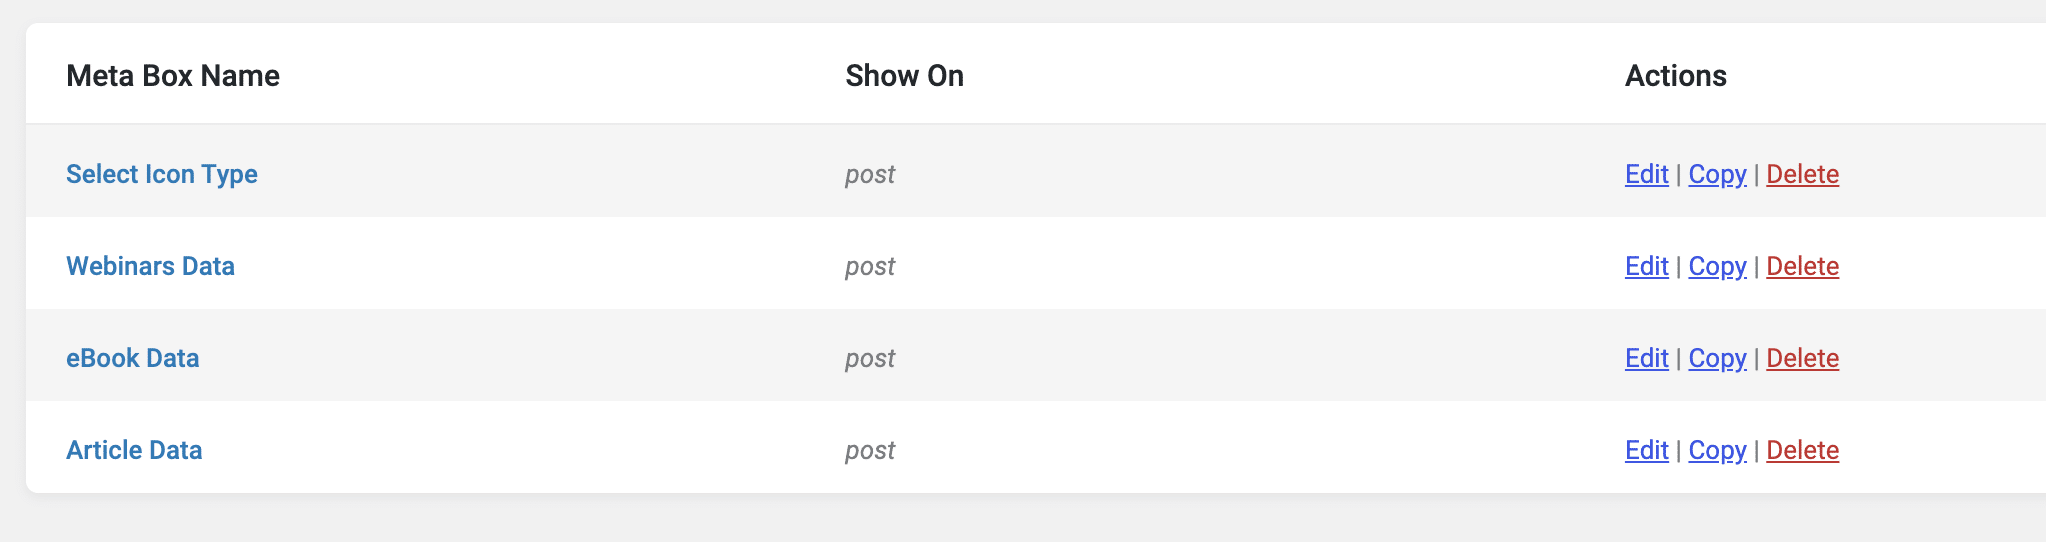
In JetEngine, you can either create the Group of Meta Fields with Conditional Logic under Posts (Post Type) or have multiple Meta Boxes assigning to the Post (Post Types). In our example, we go with Multiple Meta Boxes for easy management.
Step 3: Create the Field Mapping Document
This is the most crucial step. Create a detailed mapping document that clearly shows how each ACF field maps to its corresponding JetEngine field.
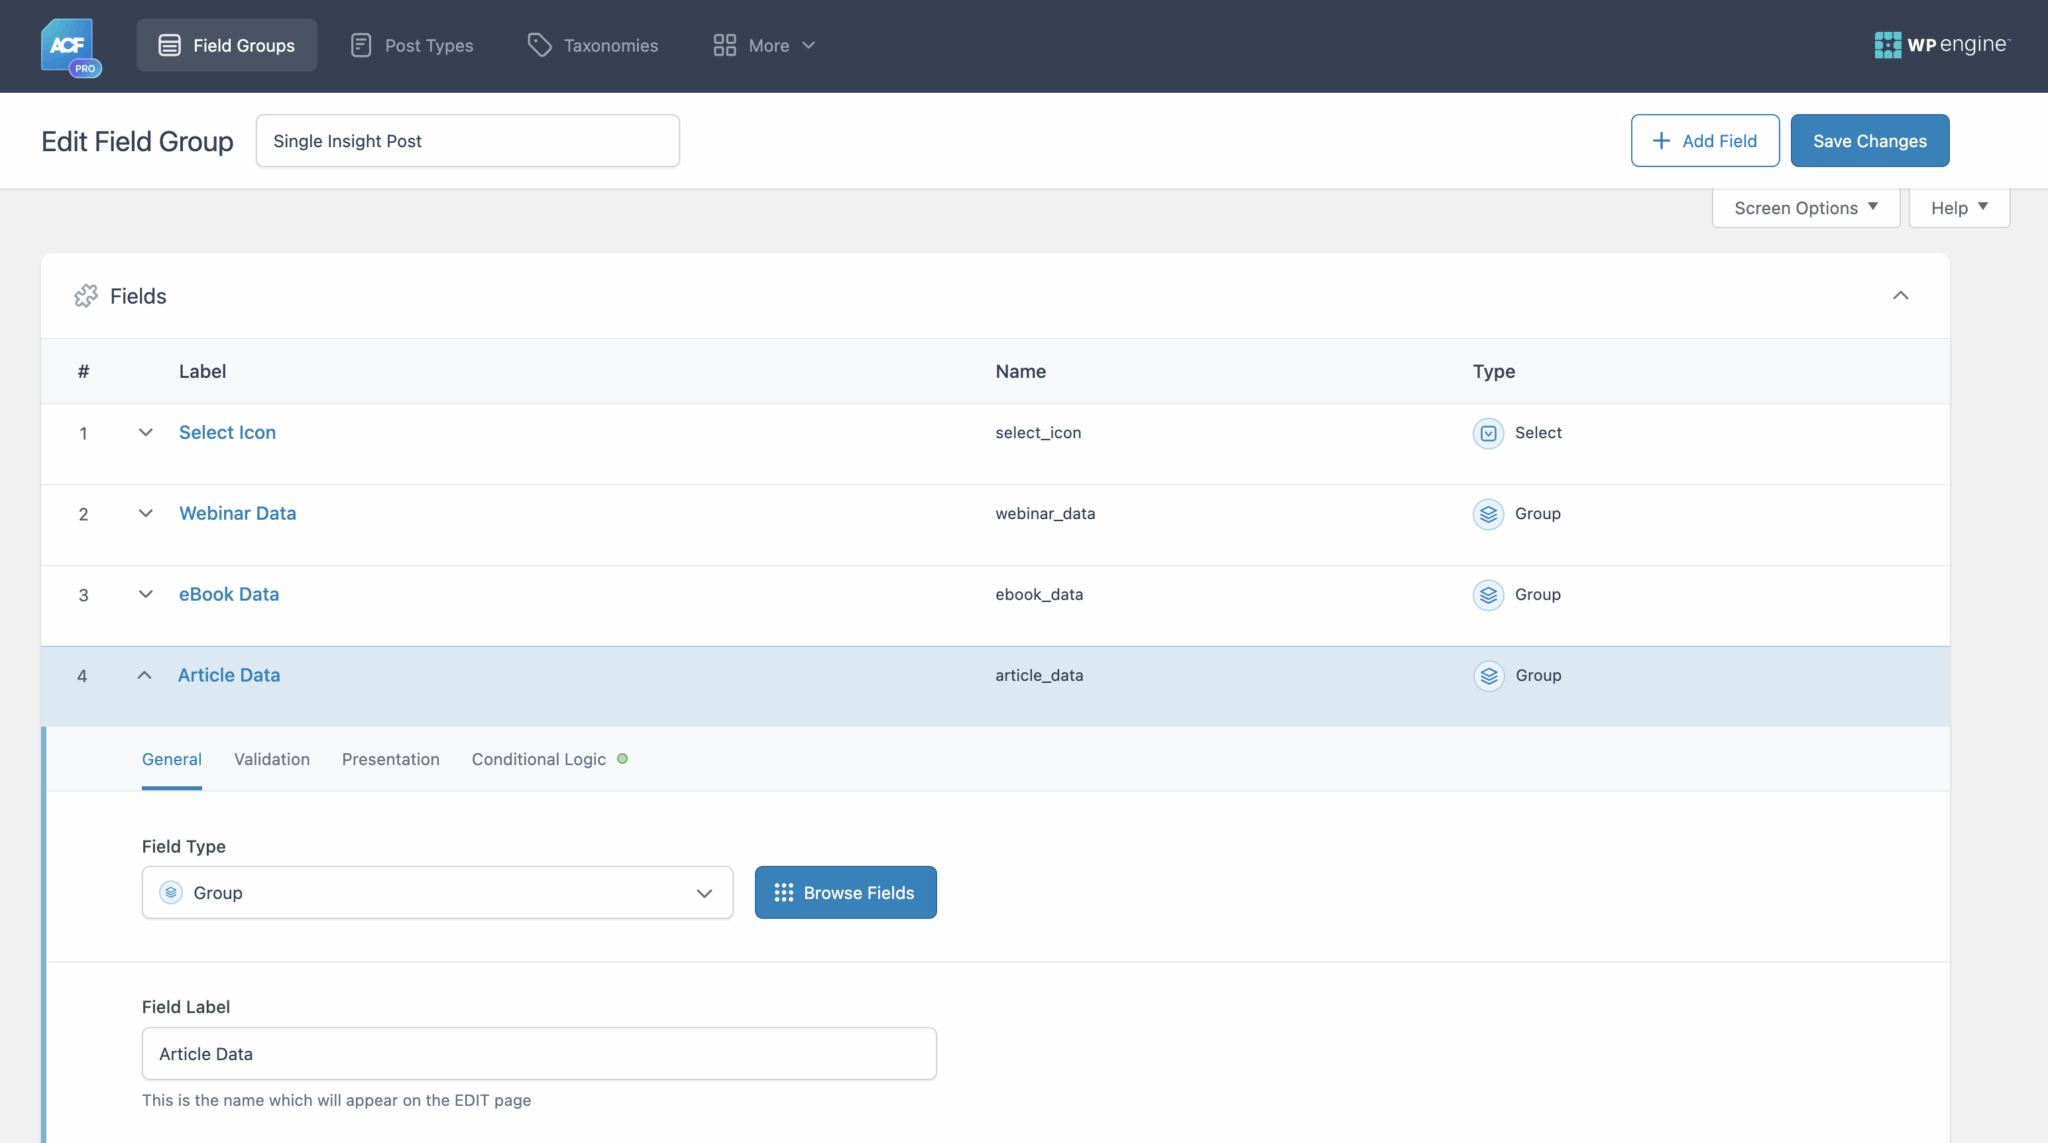
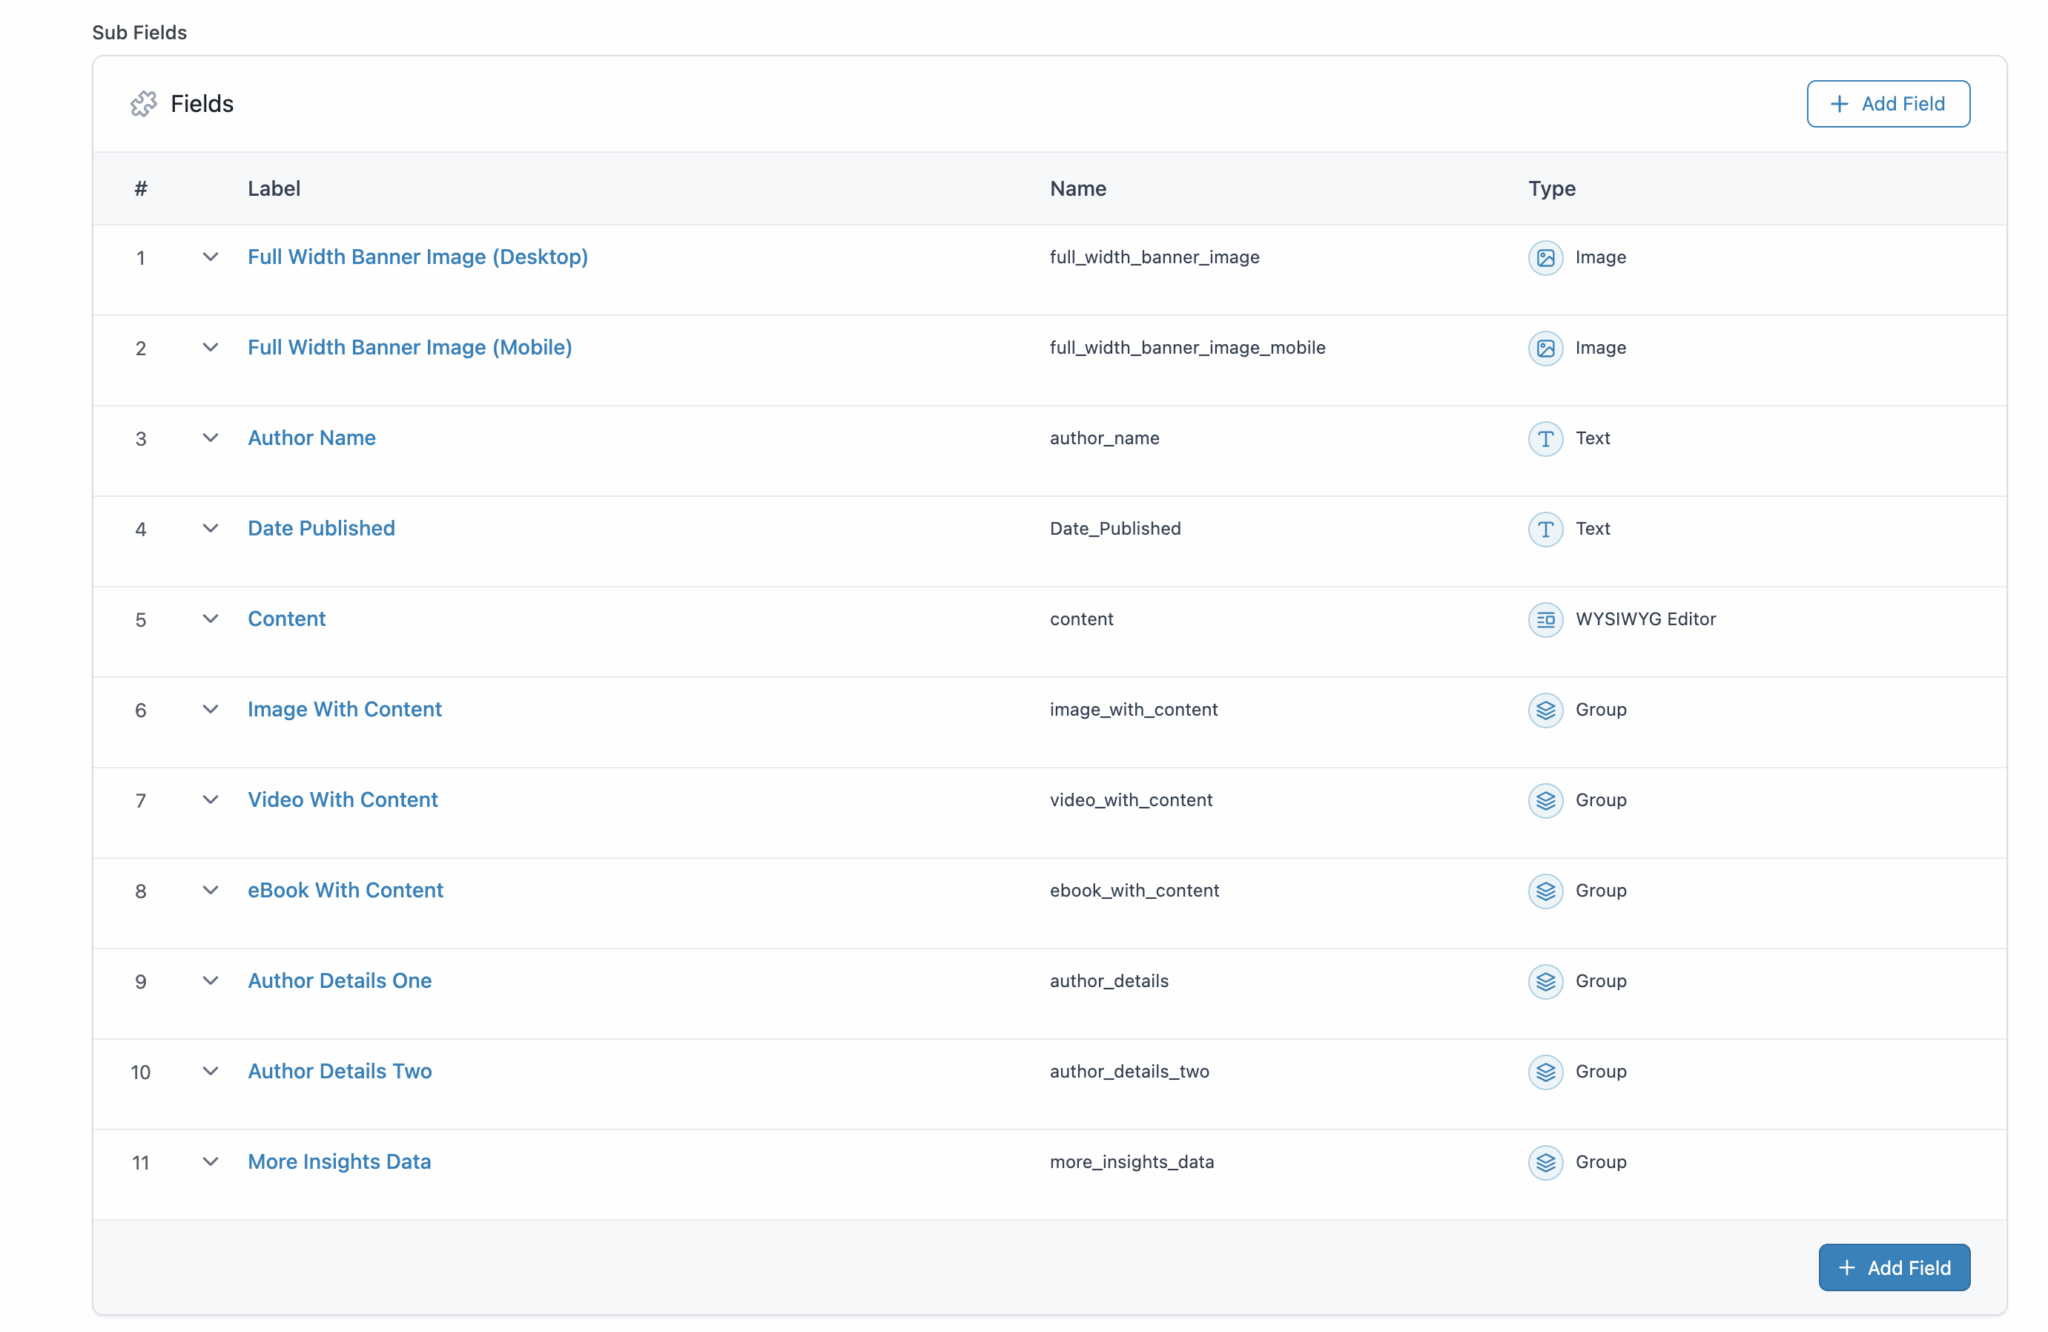
When working with ACF “Group” fields, remember that the slug should be the same between the ACF field and the JetEngine field so they connect automatically. For example, if the ACF field Webinar Data is a Group type containing a subfield Author Name with the slug author_name, the stored key will be webinar_data_author_name.
In JetEngine, the matching field should also use the full slug webinar_data_author_name so the mapping works correctly.
Example Mapping Table (Post Content)
| ACF Field Name | ACF Field Type | JetEngine Field Name | JetEngine Field Type | Notes |
|---|---|---|---|---|
| post_subtitle | text | post_subtitle | text | Import as-is |
| featured_image_credit | text | featured_image_credit | text | Keep same slug and value |
| show_in_featured | true/false | is_featured | checkbox | Convert boolean (true/false) to checked/unchecked |
| post_category | select | content_category | select | Match category slugs between systems |
| reading_time | number | reading_time_minutes | number | Ensure numeric value only |
| webinar_data → author_name | group → text | webinar_data_author_name | text | Group field example — JetEngine slug must include parent slug (webinar_data_author_name) |
Include Migration Rules
- How to handle missing data: Use fallback values when a field is empty.
- Default values for new fields: Assign default categories or statuses if not provided.
- Data transformation requirements: Convert formats (e.g., true/false to checkbox).
- Field relationship changes: Ensure related posts or taxonomies are correctly linked.
Step 4: Set Up Your JetEngine Fields
Build your complete JetEngine structure before importing any content:
Create Meta Boxes
- Build all custom field groups
- Test field functionality
- Set up conditional logic
- Configure field relationships
Test with Sample Posts
- Create a few test posts manually
- Verify all fields work correctly
- Check frontend display
- Test any custom queries
Step 5: Prepare the Migration Environment
Backup Everything
- Full database backup
- Complete file system backup
- Export existing posts separately
- Document current site functionality
BACKUP BACKUP BACKUP – it is important and we have to repeat it 3 times
Set Up Staging / Or Development Environment
- Work on a staging environment
- Install necessary plugins
- Configure JetEngine completely
- Test basic functionality
Step 6: Export and Transform Data
Extract ACF Data
- Export posts with custom fields
- Use phpMyAdmin to access wp_postmeta table
- Export custom field data separately if needed
- Document any data inconsistencies
Transform Data Structure
- Convert field names to match JetEngine
- Transform data types where necessary
- Handle missing or malformed data
- Prepare media file references
Step 7: Execute the Migration
Import in Stages
- Start with 10-20 posts as a test
- Verify custom field mapping works
- Check frontend display
- Test search and filtering functionality
Full Migration Process
- Import posts in batches (50-100 at a time)
- Verify each batch before continuing
- Update internal links and references
- Test functionality after each batch
Step 8: Post-Migration Verification
Content Verification
- Check random posts for missing data
- Verify media attachments
- Test custom field display
- Confirm internal links work
Functionality Testing
- Test post filtering and search
- Verify custom queries work
- Check page load speeds
- Test mobile responsiveness
SEO Considerations
- Verify meta descriptions preserved
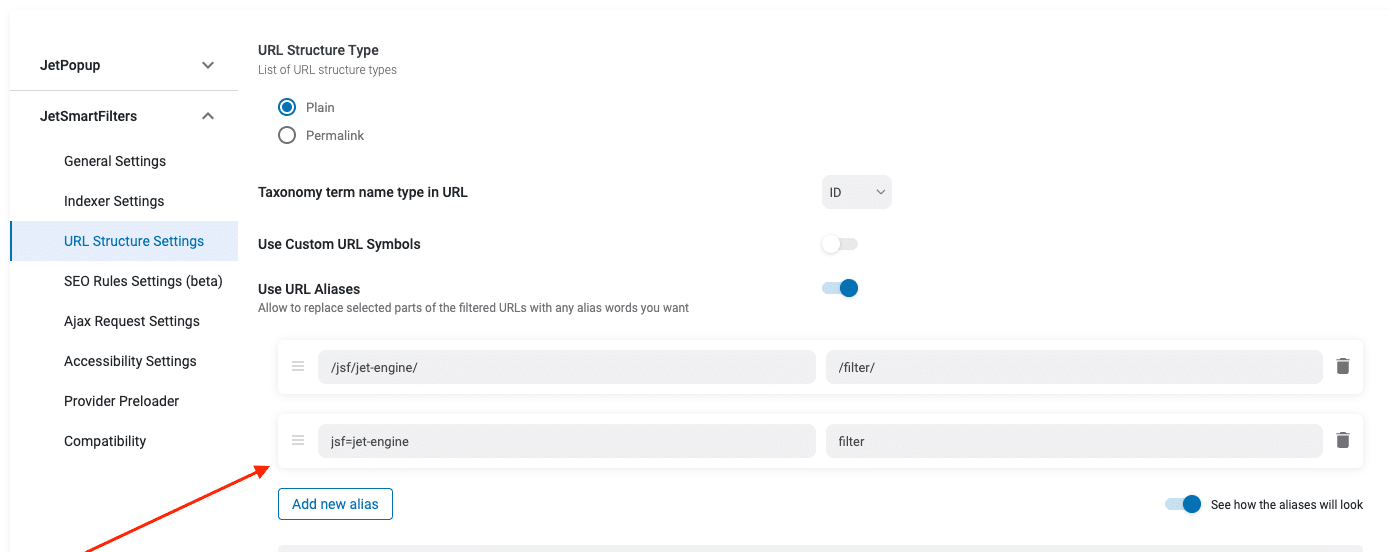
- Check internal link structure
- Confirm URL structure maintained
- Test search engine accessibility
Common Issues and Solutions (Real-World Problems)
Based on our actual migration experience, here are the issues you’re most likely to encounter:
Issue: Button/Link fields from ACF don’t migrate properly
Solution: JetEngine doesn’t have a direct “Link” field type. Recreate as URL fields or use JetEngine’s more flexible field options. Use WP All Export/Import to transform the data structure.
Issue: Date fields with mixed-case meta keys fail to map
Solution: JetEngine converts all meta keys to lowercase. If your ACF field was Date_Published, manually export and reimport with lowercase date_published key.
Issue: Custom PHP code doesn’t work with JetEngine popups
Solution: This is why we migrated in the first place. JetEngine’s dynamic tags work properly with Elementor popups, unlike ACF’s custom code integration.
Issue: Some fields appear to map but data is missing
Solution: Check field name matching exactly. Even small differences in field names will prevent automatic mapping.
Issue: Popup functionality breaks after migration
Solution: Replace ACF dynamic tags with JetEngine dynamic field widgets in Elementor. This solves the core compatibility issue.
Timeline Expectations
Based on our experience with 300+ posts:
- Planning and mapping: 2-3 days
- JetEngine setup: 1 day
- Data preparation: 1 day
- Migration execution: 2-4 hours
- Testing and verification: 1-2 days
Total project time: 5-7 days for complex migrations
When to Consider Professional Help
Consider professional migration services if you have:
- More than 500 posts to migrate
- Complex custom field relationships
- E-commerce integration requirements
- Tight timeline constraints
- Limited technical experience
- Critical SEO considerations
Tools That Can Help (What Actually Works)
Based on our migration experience, these tools proved essential:
Essential Plugins
- WP All Export/Import: Critical for handling fields that don’t auto-map (like Link fields and mixed-case meta keys)
- JetEngine: Obviously required, but ensure you have the latest version for best Elementor compatibility
Development Tools
- Elementor: Update to latest version to ensure JetPopup works properly with JetEngine
- phpMyAdmin: For direct database inspection when troubleshooting mapping issues
- Staging environment: Absolutely essential — test everything before touching the live site
Field Mapping Strategy
- Use identical field names where possible for automatic mapping
- Document which fields need manual transformation
- Test popup functionality specifically if using Elementor popups
Key Takeaways
The most important lesson from migrating hundreds of posts: preparation time is more valuable than execution time. Spending three days on proper planning and mapping will save you weeks of troubleshooting later.
Remember that migration is an opportunity to improve your content structure, not just preserve it. Take time to enhance your custom field architecture while preserving your valuable content.
Need help with a complex WordPress migration? Our team has successfully migrated thousands of posts across various platforms and custom field systems. Contact us for a migration consultation.