When creating a website, two template fundamentals you should know are the header and the footer.
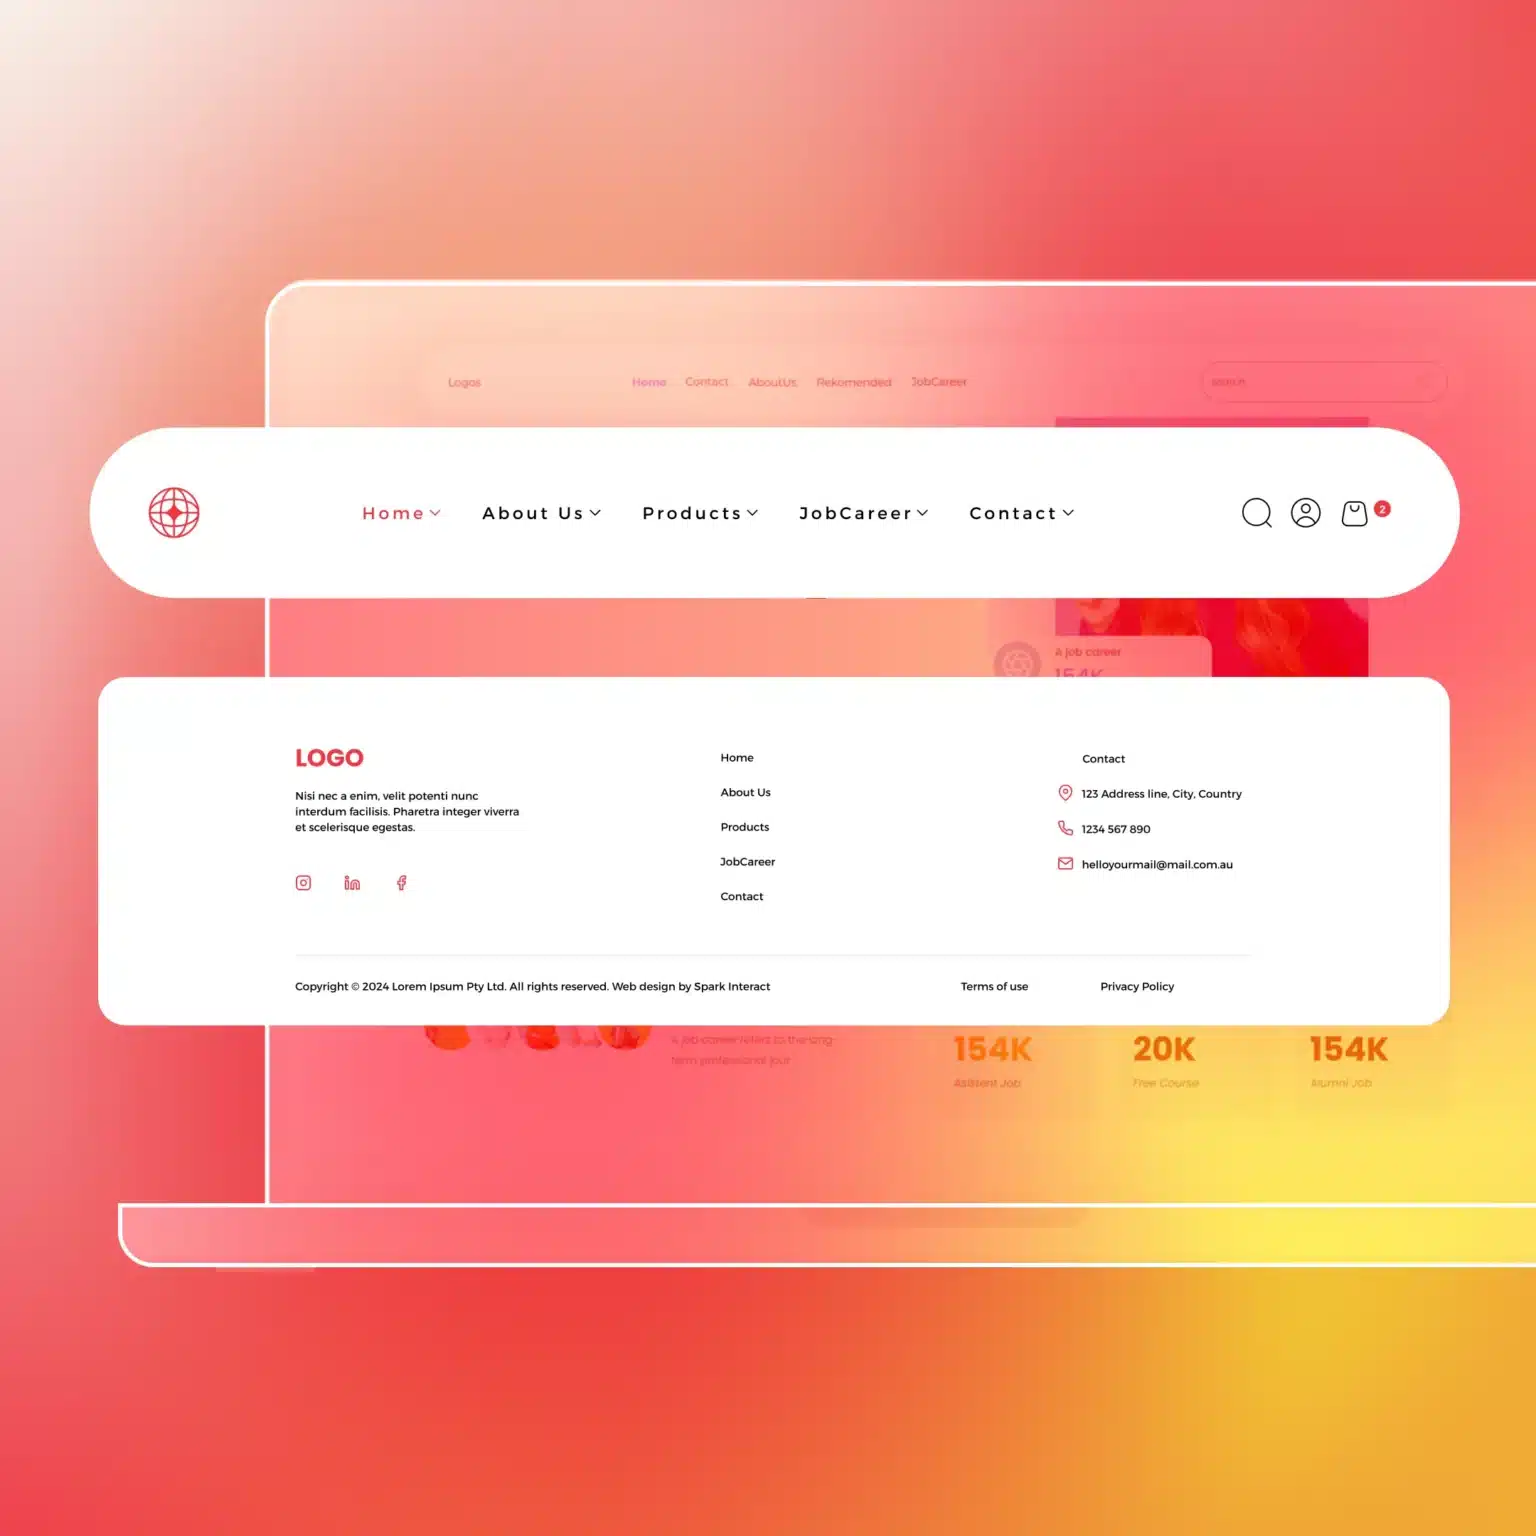
The header is at the top of a website page and contains the logo, navigation bar, brand name, or CTA. This section grabs your viewers’ attention and often contributes to their first impression of your brand.
The footer at the bottom of the page contains additional content, such as links to a list of products and services, blogs, or contact details.
You can also insert code snippets to the header and footer of your website page, some of which are Facebook Pixel, Google Search Console, or Google Analytics. However, for customisation purposes, you might need to remove these elements from a particular page on your website.
In this quick how-to, you’ll learn how to remove the header and footer in two simple ways:
Using theme page options
Some WordPress themes have the option to customise the header and footer. Go below the page’s content area and click the hide option.
Using custom CSS
If your WordPress theme doesn’t have the options for hiding the header and footer, you can manually edit them with custom CSS. Here’s how you do it:
- Go to your WordPress Dashboard
- Identify the element’s class/ID.
- Go to the address bar and look for your page ID.
- Go to Appearance > Customise.
- Click on Additional CSS.
- Add the following code:
					.page-id-120
.header-image {
display: none;
}
.page-id-120 #main-nav {
display: none;
}
.page-id-120 #footerarea {
display: none;
}
And that’s it! When you refresh your page, the header and footer should no longer appear. You don’t need advanced CSS knowledge, just follow these steps whenever you need to make your header and footer disappear.